My First Homemade Rye-Wheat Bread
My First Homemade Rye-Wheat Bread
I had always wanted to bake my own bread, but somehow I never really found the time for it. I often bake cakes, but bread was never a priority because we almost always have some bread at home. I kept thinking: why would we need even more bread?
Still, the wish stayed there. Especially because I like rye bread. I enjoy its flavor, and I also like bread that is a little more compact and has a stronger structure. I found a recipe for bread made with 100% rye flour, but some people said the flavor was too heavy for them. So I decided to make my own version — half rye flour and half wheat flour.
This is the recipe for my first homemade bread. It did not turn out perfect in appearance, but the taste was really good. That is exactly why I am sharing it — to show that even a first attempt can be good, even when everything is not ideal.
Ingredients
- 500 g rye flour
- 500 g regular wheat flour
- 2 teaspoons salt
- 2 teaspoons sugar
- 900 ml warm lukewarm water
- 2 fresh yeast cubes
Preparation
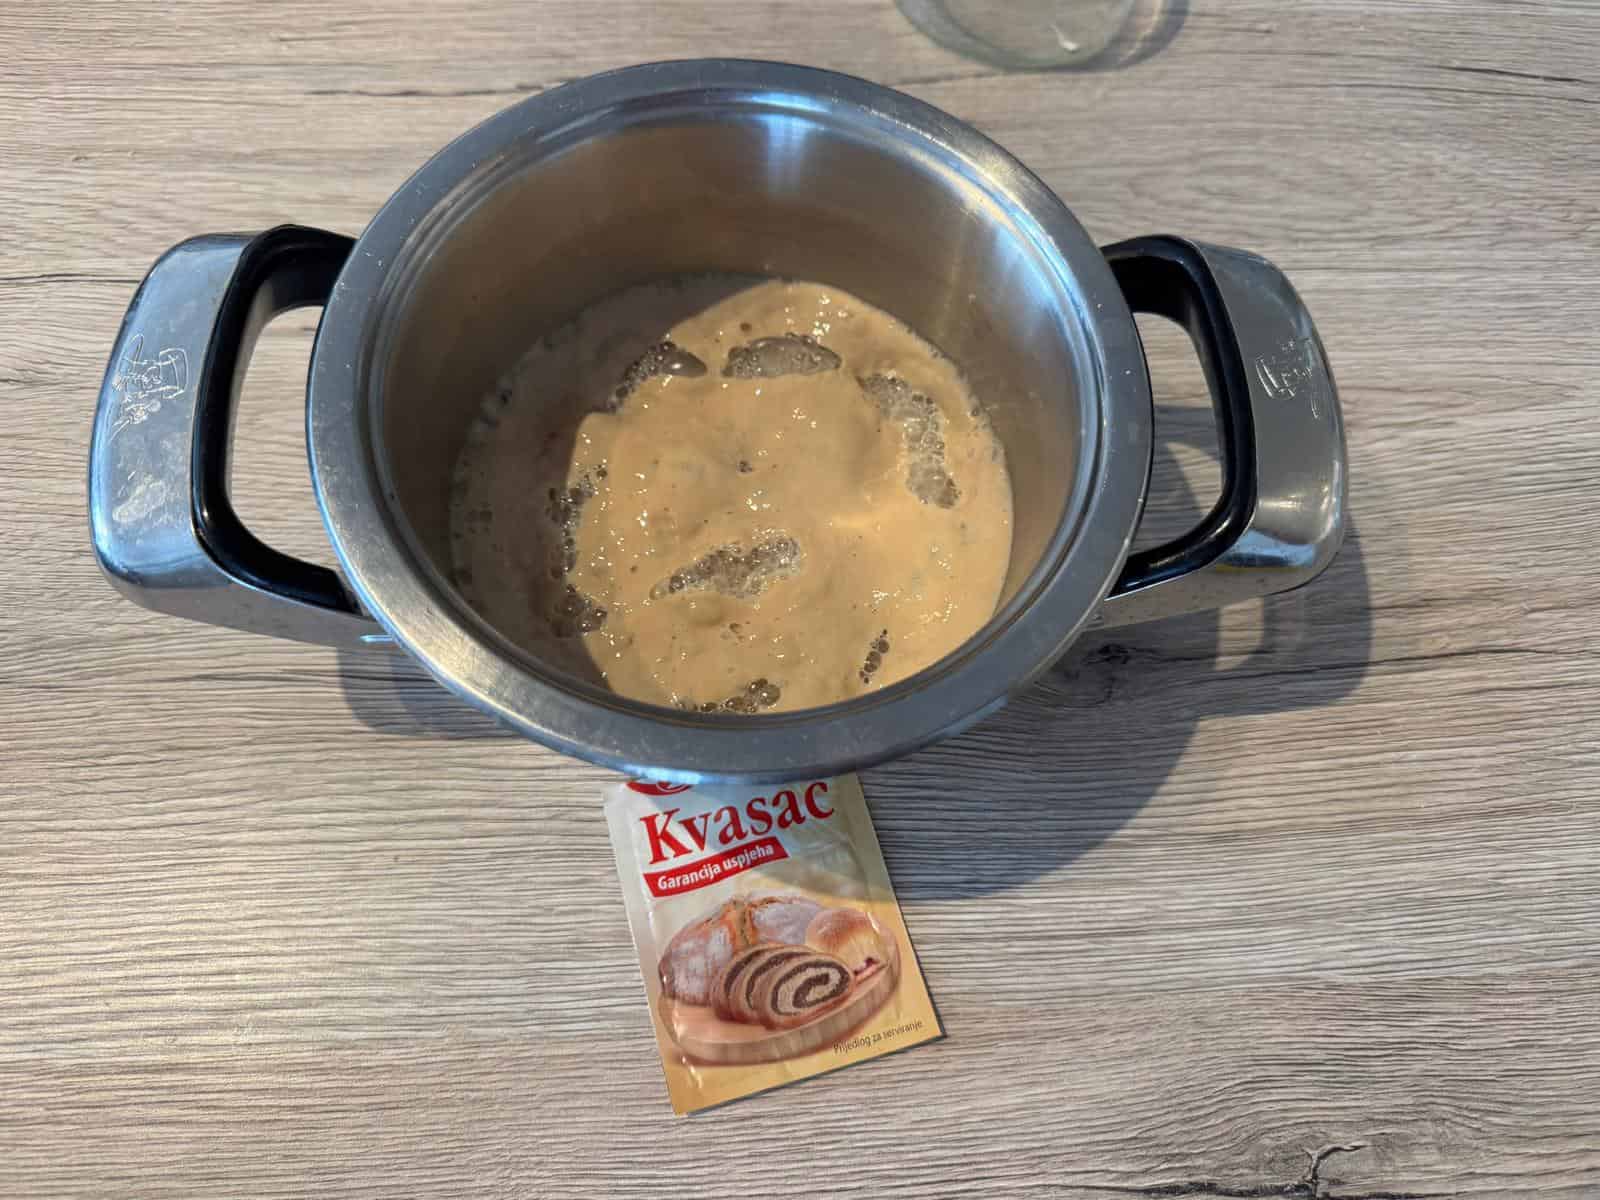
First, I put one fresh yeast cube into a small bowl with 100 ml lukewarm water and 2 teaspoons sugar.
The yeast started rising nicely, but because I did not feel it would be strong enough for such a large amount of flour, I added one more yeast cube.
In a large bowl, I first mixed the rye flour, wheat flour and salt by hand while everything was still dry.
When the yeast in the small bowl had risen nicely, I added it to the flour mixture.
Then I gradually added lukewarm water. I used 900 ml of water, even though the original recipe said 1 liter.
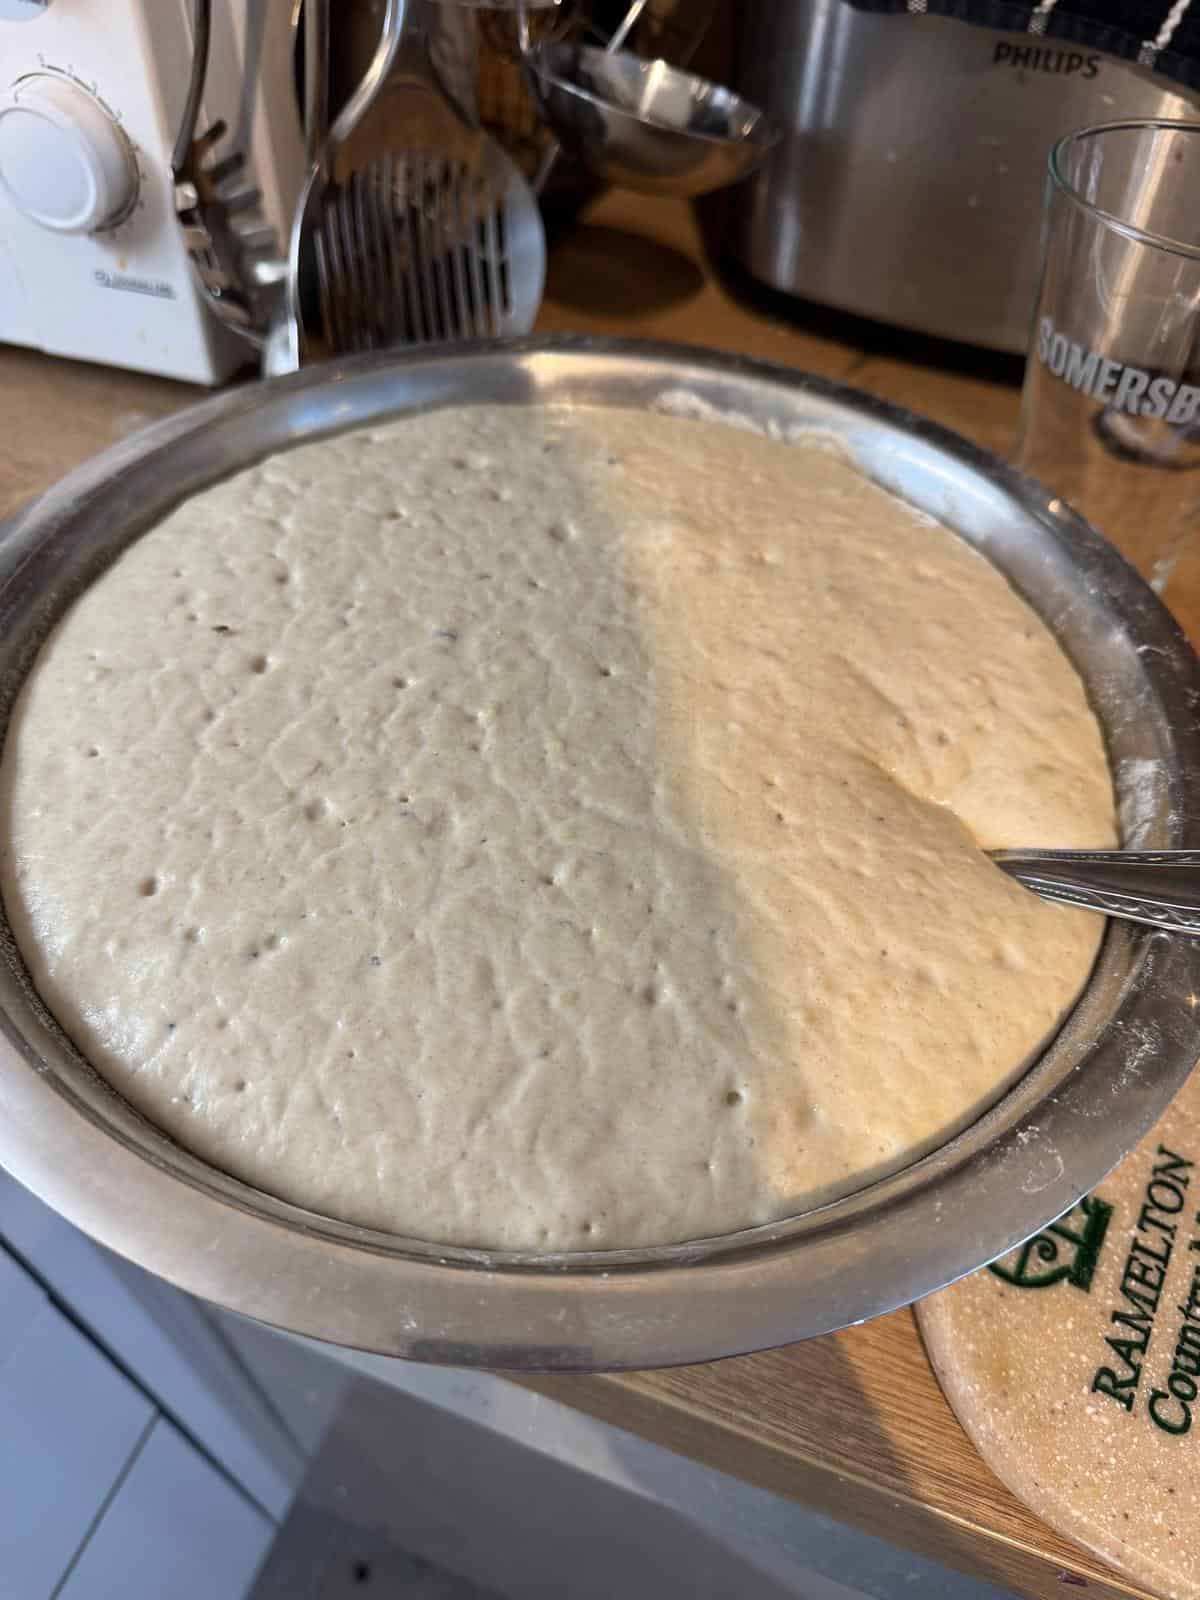
Once everything was mixed, the dough seemed a little too runny to me. I was not sure whether to add more flour or stick to the quantities from the recipe. In the end, I decided to follow the recipe.
The dough rose nicely. I thought I would knead it again by hand later, but the original recipe also said that the dough would be sticky and should be taken out of the bowl with a spoon. So I assumed it was fine for it to be softer and sticky, especially because it looked airy.
I took a fairly large long baking tin and lined it with baking paper.
I transferred the dough into the tin and put it in the oven.
I first baked it at 160 °C because I wanted the bread to rise nicely before baking more strongly.
After about 30 minutes, I increased the temperature to 200 °C and baked it for another 30 minutes.
Since I did not have much experience with baking bread, I opened the oven several times to check whether it was done. I kept feeling that it was still raw inside.
In the end, I increased the temperature to 220 °C and baked it for another 15–20 minutes. At that point, I covered the bread with aluminum foil so it would not burn on top.
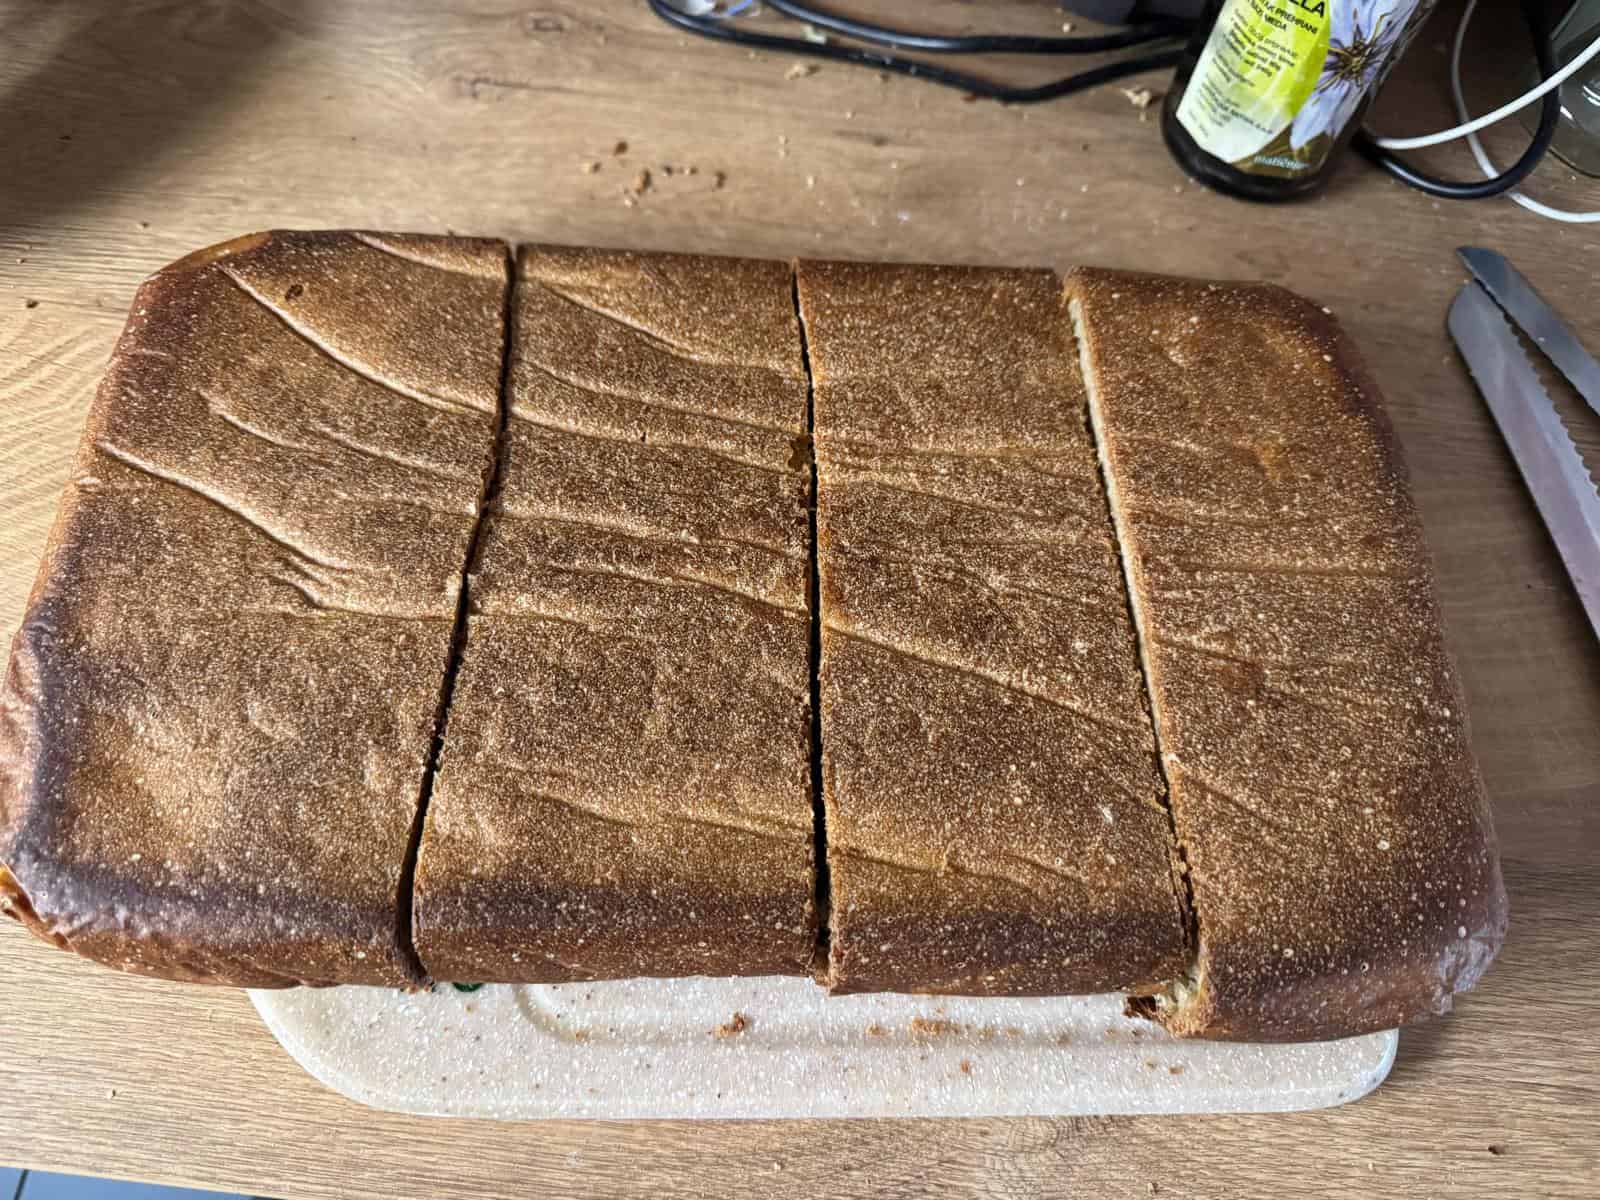
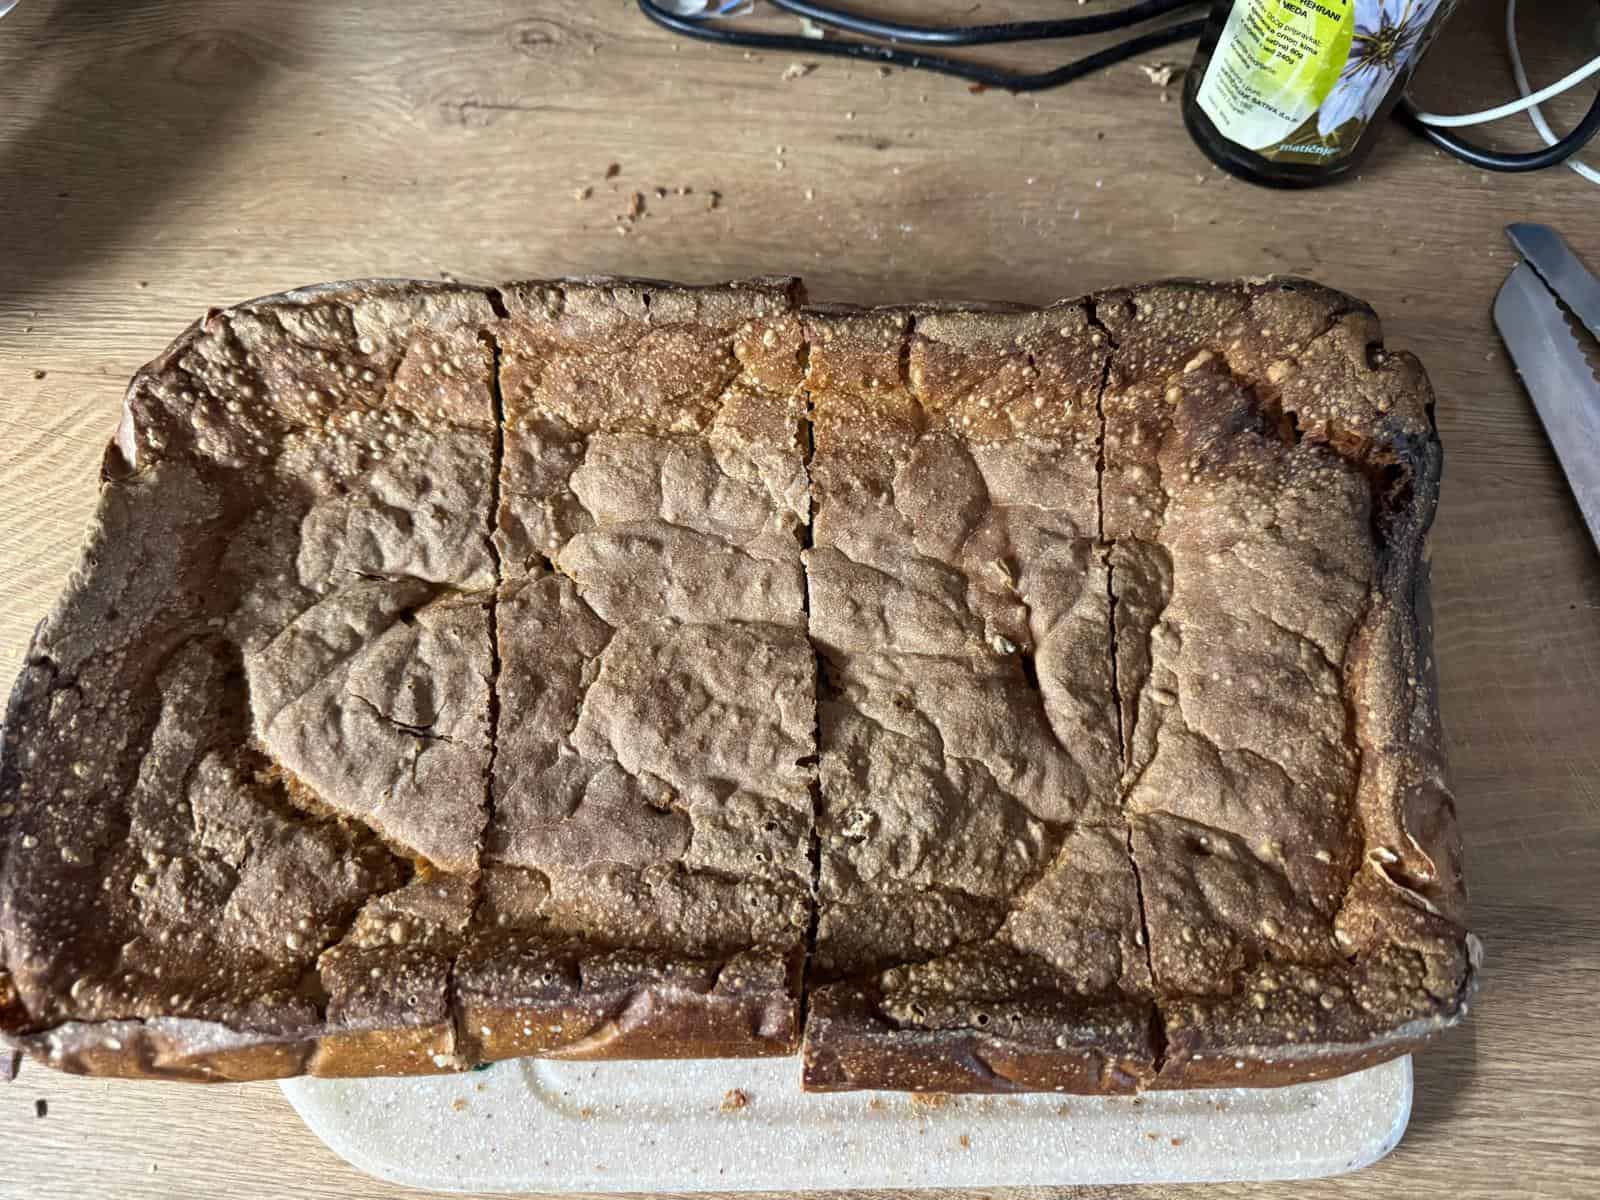
When I took it out of the oven, the top crust was very hard, almost like stone.
So I placed a damp cloth over the bread and then covered it again with the same aluminum foil. After some time, the crust softened a little.
I then cut the bread into 4 smaller loaves.
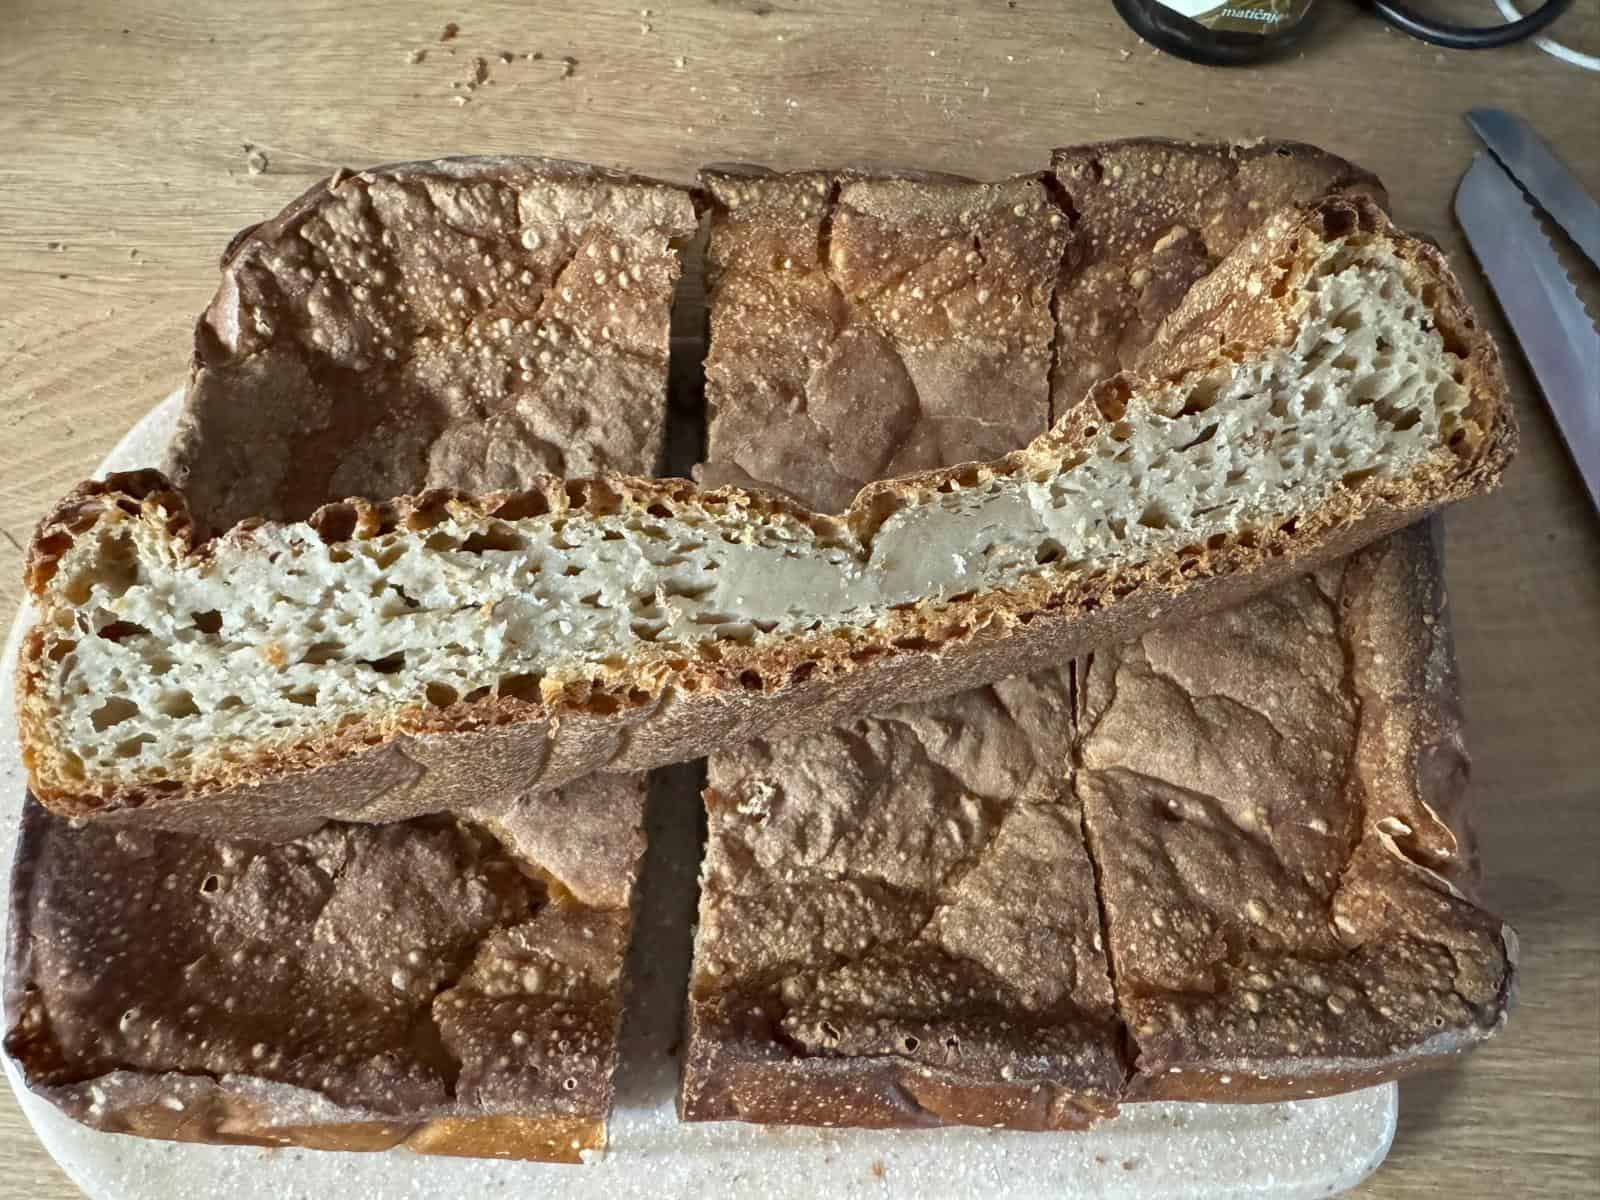
When it had cooled completely, I put the loaves into bags, the way I usually store bread. That turned out to be the right decision because the bread fully softened only after that and became very good to eat.
What I Would Do Better Next Time
This bread was very tasty, but next time I would adjust the thickness of the dough earlier. If the dough looks too runny, it is probably better to add a little more flour instead of following the recipe too strictly.
With this kind of bread, especially when rye flour is used, the dough can be stickier than regular white bread dough. But it still should not be so runny that you have no control over its shape.
Next time, I would either use a little less water or add a little more flour. I think the bread would then look nicer, more compact and more even.
Tip
If you are baking bread for the first time, do not get discouraged if it does not look like bread from a bakery. Homemade bread is a slightly different story. You need to get a feeling for the dough, the flour, the water, the rising process and your oven.
I baked this bread for quite a long time because I was not sure whether it was done. Opening the oven probably did not help, but that is part of a first attempt. Next time, I would bake it more calmly, with less oven opening and a clearer temperature plan.
Still, even though the appearance was not perfect, the flavor was excellent. The bread was compact, homemade, filling and exactly what I wanted with a good, spicy stew.
That is why I am sharing this recipe. Not because the bread turned out perfect, but because recipes like this are often the ones we learn the most from. Sometimes it is not about getting everything right on the first try, but about knowing what to do a little better next time.
Enjoy!